Saturday, May 11, 2013

Hello! Welcome to my blog and thank you for stopping by. I design and create handcrafted greeting cards. I like to call this passion of mine "visual poetry" ....imagery on paper. Please feel free to browse the photos of my cards and leave a comment.

Monday, December 28, 2020

Christmas Cards 2020

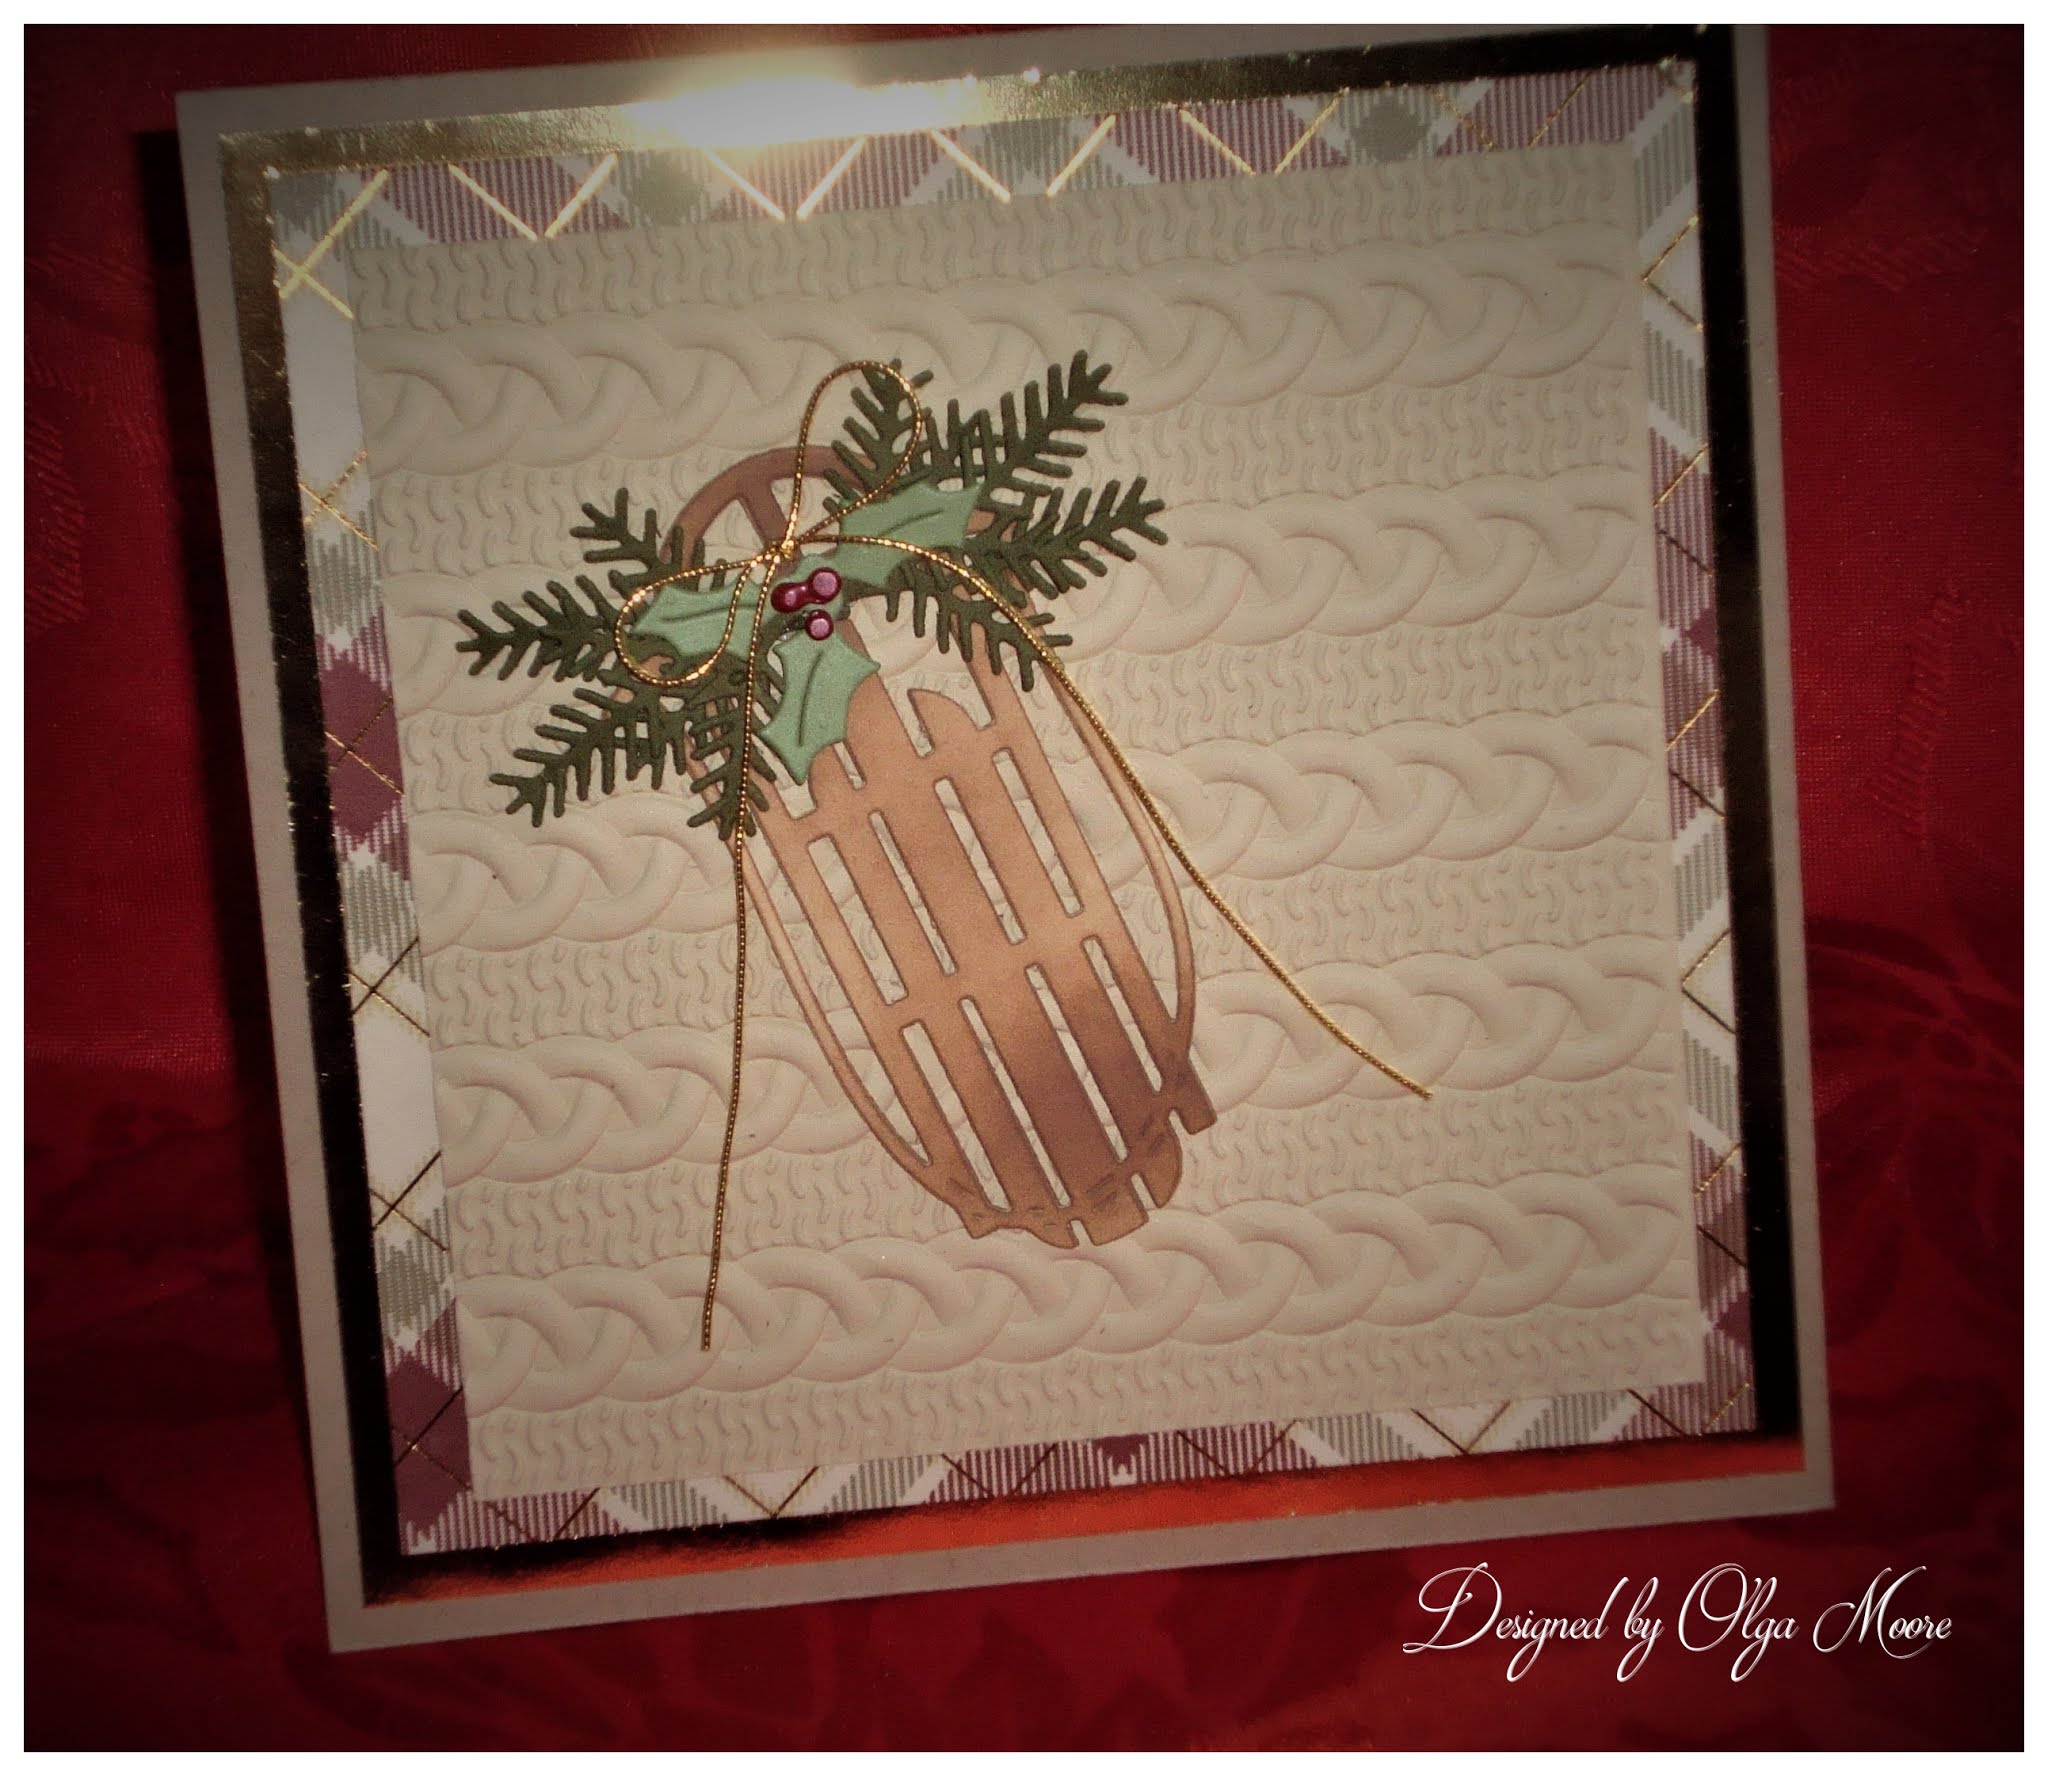
These are this year's Christmas cards that I made. Unfortunately, my camera did not capture the gold or silver sheen or glitter features.


Sunday, October 11, 2020

Fall Pumpkin Splendor


Hello fellow crafters!  It's fall and my favorite season. Here's a birthday card I designed for my old college roommate whose birthday falls this month.

Following are the products used in this project:

Card Stock:  GKD Ivory, Kraft, Daffodil Delight, Sweet Mango, Dark Chocolate; Gold (unknown brand); Patterned papers from my stash. 

Dies:  Cottage Cutz Double Stitched Ovals, Spellbinders Woodland Acorns, IO Wheat, Memory Box Nutty Acorn, Spellbinders Create a Sunflower

InksDistress Oxide Vintage Photo, Fossilized Amber, Spiced Marmalade, Peeled Paint 

OtherAdhesive, dimensionals 


This card was entered into the following challenge(s):

Mod Squad Challenge Blog - Hello Pumpkin 


I am so thrilled to find that my entry was the winner of the

 Hello Pumpkin Challenge at the Mod Squad Challenge Blog! 


Friday, October 9, 2020

Fall Floral


Hello Crafters!  Autumn is my most favorite season of the year. I just love the crispness in the air and the gorgeous hues of this time of year. The card pictured above was made for a friend whose birthday falls this month.

I began with choosing the background for my card. I found this rustic looking digital paper and decided this would be perfect. It was matted with brown card stock and then adhered to an ivory card base.

In the next step I die cut a basket and colored it with Distress Oxide ink.This was then popped on with dimensionals to the front the card. The flowers were die cut in various colored card stock. Fun flock was added to most of the centers The sunflower (which came with their own dies for the center) were sponged with Distress Oxide ink. The flowers were the positioned on the basket and some wheat heads, a fern leaf and leafy springs were added as a final touch.

Here are the products used in creating this card:
 
Card Stock:  GKD Ivory, Kraft, Daffodil Delight, Sweet Mango, Orange Zest, Wild Lilac, Dark Chocolate, Garden Green; SU Wild Honey; Gold

Dies:  IO Basket, HFC Delicate Asters, Rubbernecker Mixable Flower Stack, Cheery Lynn Wheat Heads, Memory Box Delicate Fern, Poppy Stamps Leafy Sprig

Inks: Distress Oxide Vintage Photo, Spiced Marmalade

Other:  Fun Flock, dimensionals, adhesive, blender brushes, mini applicators
 

Thank you for visiting my blog. I will be posting another fall card in another week or so.
 Please stop by again.

Saturday, August 29, 2020

You Rock

Add caption

Hello!  My younger nephew's birthday fell this month and I made this card for him. I couldn't decide what to create so I went looking for inspiration and this was the result.

I wanted a definite masculine look to this card so I chose a weathered wood background from my stash of patterned papers. I matted his with GKD Charcoal Brown card stock and this would be my front panel.

Next, the images for the focal panel were die cut using black mirror card stock. Three sets of letters for the word ROCK were cut using Memory Box Vintage Varsity Alphabet dies and stacked to give dimension.  Also, 3 sets of letters for YOU were cut from an Elizabeth Craft Designs Alphabet 2 - Lower Case die set and stacked. The records were die cut with SugarPeas Designs Greatest Hits dies. The record labels were cut from the same die set using patterned paper except for the blue label on which the "Happy Birthday" was computer generated. Fun foam was added to all 3 record images to give dimension. The music notes were die cut with the same die set.

After all the images were die cut, they were positioned on the focal panel and adhered. The sentiment (For the record) was computer generated on weathered wood background paper and cut in the shape of a board. This was matted with charcoal brown card stock. Brads were added at each end to give the look of nails. This was then adhered to the card with dimensionals

The card front or focal panel was then adhered to a GKD Pure Luxury White card base using dimensional tape. This completed my project. 

 Thank you for stopping by!  Hope you were inspired to create. 

Make it a great crafting day! 


Sunday, August 23, 2020

Flowering Tree and Cats on Fence


Hello crafting friends!   My daughter's birthday was this month and I decided to create an outdoor scene for her. It's a little different from my previous one and I find that I really enjoy creating these.

I began with cutting a 5x5 panel of green and white striped digital paper from my stash and creating a border around the panel using MS Punch Around the Page Eyelet Lace punch.  This would be my focal panel onto which I positioned and attached my images. I matted this panel with a larger piece of GKD Pure Luxury White card stock.

Next, I die cut the tree in GKD Kraft card stock using an IO Bare Tree die and then sponged it with Distress Oxide Vintage Photo ink. Using an IO Leaf Cluster die, I cut the tree leaves in GKD Garden Green card stock. The tiny flowers were die cut next using Rubbernecker's Tiny Flower Buds. The leaves were adhered to the tree branches followed by the tiny flowers which were arranged in groups of three (3). This was put aside for the time being.

The fence was cut in GKD Pure Luxury White card stock and the grass border in GKD Garden Green,  both from dies in Sue Wilson's Garden Circle Scene die set. The cats were die cut using DiesRus Cats die set and colored using Distress Oxide Antique Linen and Vintage Photo Inks. The feet and ears and part of the faces of the cats were colored with a dark brown brush pen.

The  butterflies were cut from Memory Box Peaceful Butterfly Wings in GKD Pure Luxury White card stock. Glitter was added to the butterflies.

Now it was time to put everything together to create the scene. First, I  positioned the tree and adhered the trunk with dimensional tape. Next, glue dots were added to the backs of the branches to adhere them. The fence was attached with dimensional tape and the grass border to the fence with double sided adhesive. The cats were positioned on the fence and adhered. The butterflies were randomly positioned in the background and adhered. I added Wink of Stella to the flower buds to give them just a  bit of sparkle.

Finally the focal panel was adhered to a layer of the GKD Garden Green card stock and then attached to a GKD Pure Luxury White base card. My project was complete.


Here are the materials and supplies used in making this card:

Card Stock:  GKD Pure Luxury White, Kraft, Garden Green; Digital paper

Inks:  Distress Oxide Vintage Photo, Antique Linen

Dies/Punches:  IO Bare Tree, Leaf Cluster; Rubbernecker Tiny Flowers; Sue Wilson Garden Circle Scene; Dies-R-Us Cats; Memory Box Peaceful Butterfly Wings; MS Eyelet Lace Punch Around the Page 

Other: adhesives (glue dots), dimensional tape, glitter, Wink of Stella, brush pen


Thank you for visiting my blog. I hope you enjoyed this post and will be inclined to create.

Til next time....make it a great day!


Sunday, August 9, 2020

Fenced Tree in Bloom and Birdhouse


 Hello crafting friends!  This birthday card highlighting an outdoor scene was made for a friend. It took a lot of work but I was happy with the way it turned out.

 I began with creating the background. First, cloud templates were positioned and temporarily adhered to a panel of white card stock. Next, the background was sponged with Distress Oxide Tumbled Glass ink and then the cloud templates removed.

In the next step, the frame was created in white card stock using 2 dies from Creative Expressions Double Stitched Rectangles.  The fence was cut from a Rubbernecker Gate and Arbor die in white card stock and assembled. The fence hinges and handle were die cut in black mirror card stock. The grass border was cut from green card stock using a die from Creative Expressions Garden Circle Scene die set and adhered to the fence with adhesive. The assembled fence was then adhered to the back of the frame. This frame was put aside to work on the background scene.

For the tree I used an IO Bare Tree die and cut it in kraft card stock and then sponged it with Distress Oxide Vintage Photo ink. The leaves of the tree were die cut in green card stock using the IO Leaves and Stems die and were positioned and attached to the tree branches. Using dies from Rubbernecker Flower Buds and Tiny Flower Buds the flowers were cut in pink card stock, shaped and then adhered to the branches of the tree. To create the birdhouse, I used dies from Creative Expressions Home Tweet Home using kraft and brown card stock, sponging the kraft with Distress Oxide Vintage Photo ink. I added tiny flowers to the birdhouse using a die from the Garden Circle Scene die set. These were cut in green card stock and then paper pieced with pink.      

The completed tree and birdhouse were then attached to the background panel with dimensionals and glue dots. The birds, cut in kraft card stock using Creative Expressions A Little Birdie Told Me, were sponged with the vintage photo ink and then added to the background with dimensionals. The finished background panel was then adhered to the frame using dimensional tape. 

To complete the card the framed panel was adhered to a pink panel and then to a white base card. I added some Wink of Stella to the flowers and this completed my project.    


Here is a list of all the products used:

 Card Stock: GKD White, Kraft, Bubblegum Pink, Grass Green; PTI Dark Chocolate; Black Mirror Paper

Dies: Creative Expressions Double Stitched Rectangles, Home Tweet Home, A Little Birdie Told Me, Garden Circle Scene; IO Bare Tree, Stems and Leaves; Rubbernecker Stamps Gate and Arbor, Flower Buds, Tiny Flower Buds

Inks: Distress Oxide Tumbled Glass, Vintage Photo; GKD Passionate Pink

Other:  Adhesive, dimensionals, sponge daubers, blending brushes     


Thank you for stopping by!  Any comments are much appreciated.

Make sure to make it a great day!


Wednesday, July 15, 2020

Floral Twig Wreath


Hello, fellow crafters!  Today I'm sharing a card I made for my sister-in-law's recent birthday. 

I began with creating the front panel using Taylored Expressions Bead Board embossing folder. Next, this was matted with GKD Sweet Corn card stock, the edges of which were inked with Distress Oxide Spiced Marmalade ink. A layer of GKD Kraft card stock was added to this panel and then all adhered to a GKD Pure Luxury White card base. This was put aside to work on the wreath and flowers.

The wreath was die cut from GKD Kraft card stock using  the IO Twig Wreath die. Three separate wreaths were cut, sponged with Distress Oxide Vintage Photo ink, and adhered together. Also, a base for the wreath was cut using 2 different size circle dies and the wreath was then adhered to the base ring.

The flowers were cut from GKD Sweet Corn card stock using a IO Spring Wreath die.  As you can see from the photo several flowers were cut to cover the wreath. The flowers were sponged with Distress Oxide Spiced Marmalade ink. The green foliage was cut from SU Garden Green card stock using a Poppy Stamps Leafy Sprigs die.

The wreath was positioned on the card's front panel with dimensionals.  The flowers and sprigs were then attached to the wreath using glue dots. The sentiment was computer generated, die cut using a die form the Cottage Cutz Cross Stitched Rectangle die set, and positioned on the wreath using glue dots. This completed my project.

Hope you enjoyed this post and stop by often. 
Stay safe and thanks for visiting!


Sunday, May 3, 2020

Antique Car Slider Birthday


This card was made for my brother's 65th birthday. It is an interactive card where the vintage car moves (slides) from one end to the other.  

As a first step, the base card was created in white card stock. Next, it was layered with red mirror paper. This was then put aside to work on the focal panel.

I used some black and white plaid patterned paper from my stash and adhered it to a panel of white card stock to give this layer support. This would be my focal panel where I needed to create a slot for the movement of the car.  The slot was created using a Lawn Fawn die. Then, using 4 pennies, 2 each were adhered together with a dimensional (pop dot).  The two sets of adhered pennies were then inserted into the slot. (I found this to be the easiest way for me to create the sliding mechanism.)   If interested, here is a link to a slider card video tutorial.

Next, I added dimensional tape to the back of the focal panel in order that there would be room for the car to slide back and forth smoothly, ensuring that there was space for the pennies not to get stuck while sliding. This panel was then adhered to the prepared base card.

The car image was die cut in both red and black mirror paper and paper pieced. A dimensional (pop dot) was placed on top of each of the pennies, they were positioned in the slot, and then the  car was adhered to the pennies.  

The speed limit sign and sentiment were created and computer generated, cut with a paper cutter and/or label die, and then adhered to the card with dimensionals.  The car wheel was an extra one that I die cut to add a little something extra to the panel.

And that's it! I love the way it turned out and I hope my brother enjoys "playing" with it (chuckle).
 
Here are the supplies used in this project:

Card Stock:  GKD Pure Luxury White, Black Onyx; red and black mirror paper (brand unknown), plaid digital paper
Dies:  Lawn Fawn Slide on Over, Cheery Lynn Antique Car, Spellbinders Labels Trio 
Other:  adhesive, dimensional tape and/or pop dots 

Thanks so much for stopping by. 
Looking forward to creating again soon and having you visit.


Wednesday, April 29, 2020

Bucket of Lilacs


Hello fellow crafters!  Lilac bushes are just starting to bud. I can't wait to get some from my daughter's bush and put a bunch in my kitchen.  Their scent fills the entire room. This is what inspired me to create a card for a friend whose birthday falls in early May.
 
I began by using an Impression Obsession Square Cutout Border die to create the borders on the sides of a white piece of card stock. This created my focal panel which was matted with a shade of purple card stock and then adhered to a panel of darker purple card stock and finally to a white card base.

Using two dies from Spellbinders Hexagons die set I created a frame in white card stock. Dimensional tape was added to the back of the frame and then the frame was matted with  white card stock.

The bucket was die cut and colored with Copics. The Lilacs were die cut from shades of purple card stock and green card stock. These were positioned in the bucket and adhered. The bucket of lilacs was then attached to the hexagon frame using dimensionals.

Next, the framed lilacs were adhered to the focal panel. The sentiments were stamped in black ink, die cut and adhered as shown. This was the last step and my project was complete.

Here are the materials used to create this card:

Card Stock:  GKD Pure Luxury White, Vibrant Violet, Wild Lilac; SU Wild Wasabi, Smokey Slate 
Dies:  IO Square Cutout Border; Spellbinders Hexagons; Frantic Stamper Bucket and Pitcher, Spring Blossoms; Cottage Cuts Pierced Rectangles; Sue Wilson Double Pierced Rectangles.
Stamps:  Hero Arts For You Flowers; GKD Bitty Blossoms
Ink:  Versamark Onyx Black
Other:  Copic Markers, clear EF, adhesives, dimensionals 

Hope you enjoyed this post. Thanks for stopping by and please drop by often.

Monday, March 23, 2020

Grand Piano Birthday

This is the card when closed.


This is the card when opened with the music stand upright.


Hello!  I hope all are well and staying safe during this very stressful time  and finding ways to cope and still enjoy life. I keep myself busy with cardmaking, watching favorite recorded shows and catching up on household chores (my least favorite). 

The card pictured above was made for a friend who requested a birthday card for his adult son who is an organist and a music lover.  Since I couldn't find any organ themed dies, I felt this grand piano theme would be an appropriate and perfect substitute.

 I began by die cutting the grand piano image in black cardstock. This was matted with gold mirror paper. Next, I worked on the inside of the card. The piano keys were die cut and adhered to the inside bottom. Then the inside message, which was computer generated, was adhered above the piano keys.  The music stand was die cut and attached. A music sheet with "Happy Birthday" was added to the music stand.

For the front of the card, "Happy Birthday" and the musical notes were all die cut in gold mirror paper and randomly adhered. To add a bit of contrast, a red strip of card stock was adhered to the bottom edge of the card front. My card was complete.

Here are the materials used in this project:

Card Stock:  GKD Black Onyx, White, Red Hot; Gold mirror paper
Dies:  Marianne Designs Piano, Memory Box Musical Motifs, Sue Wison's Happy Birthday
Other:  Happy Birthday music sheet (computer generated), adhesive

Thank you for stopping by. Hope you can find time to craft 
to take your minds off the challenges and anxiety we are currently facing.
Stay safe everyone!


Friday, March 13, 2020

Pocket full of Wishes


Hello!  Todays's card is one I made for the wife of my other nephew.  Both nephews' wives have birthdays in March.  I thought "a pocket full of wishes" theme would make a perfect birthday card.

I began with embossing a 5x5 inch panel with a Marianne Design EF. The embossed panel was then matted with navy and blue card stock,  all of which was adhered to a white base.

Using a jean's pocket template, I cut out the pocket in denim digital paper and added brads as buttons to the corners. The pocket was mounted on fun foam and then adhered to the card. The flowers were die cut, colored with copics and then adhered to the denim pocket image with dimensionals.  The leaves were die cut using green card stock and then added to the floral images  For the smaller flowers in the lower right hand corner, these were die cut with scraps of different colored card stock and the centers were colored with a black Sakura Glaze pen. The sentiment was computer generated on white card stock, matted with denim digital paper and adhered with dimensionals.  This completed my project.

Here are the products used in this project:

Card Stock:  GKD White, In the Navy,  Black Onyx;  PTI Spring Rain; SU Wild Wasabi;  scraps of various colors for flowers and leaves, denim digital paper
Dies:  John Next Door Cornflower Dies, Spellbinders Create a Sunflower, Rubbernecker Stamps Mixable Flower Stack, Spellbinders Matting Basics B
Embossing Folder:  Marianne Design Linen
Other:  adhesive, fun foam, dimensionals, copics, Sakura Glaze pen, brads


Thank you for stopping by!  Hope you were inspited to create.  
Until next time......make it a great day!


Wednesday, March 4, 2020

Classy Shopping


Hello fellow crafters!  It looks like spring today here in my neighborhood, although tomorrow we expect a rain/snow mix.  But it won't be long until it really does arrive.  Looking forward to it.

The wife of one of my nephews (I guess she would be my niece???) recently had a birthday. I missed her birthday by a few day because I didn't double check the date. Any way, I made this card for her and expressed my apologies for the delay. 

I didn't know how large to expect the card to be so I began by creating the die cut images first and then determining how large the focal panel would be. The dress was created using a dress template I had. I added a ribbon to the waistline to make the dress look finished. Next, the shopping bags were die cut with various digital papers and tissue added.  The shoe box was created using a square die and a handcut lid. Finally, the shoes were die cut using mirror paper.

Having the die cut elements completed, I used an embossing folder to create the focal panel. This was then matted with black and then pink card stock and finally adhered to a white base card.

(PS:  because the card was late, I inserted a little tag partially peeking out of one of the shopping bags that read:  Oh $HOE!  I missed your birthday!  Get it???  LOL)


Here are the supplies used in making this card:

Card Stock:  GKD White, Black Onyx, Kraft, Bubblegum Pink; black mirror paper; various digital paper
Ink:  Distress Oxide Vintage Photo (to sponge the edges of the shoe box)
Dies:  Memory Box Gift Bag, IO Wedding Icons (shoes), Spellbinders Classic Squares
Embossing Folder:  Sue Wilson Textures-Linen
Other:  dress template, ribbon, tissue paper, adhesive, dimnesionals


Thanks for visiting!  Hope you stop by often.
Until next time....make it a great day!


Wednesday, February 12, 2020

Aging and Wine Birthday


Based on my previous wine themed card, here is one requested by a client who wanted to give her mother-in-law a birthday card along with her favorite bottle of wine. I thought this would be perfect.


This turned out to be a large card (7"x7"). Here are the supplies used in its creation:


Card Stock:  GKD White, Cherry Red, Kraft; PTI Dark Chocolate;  SU Garden Green, Elegant Eggplant, Perfect Plum; MFT Tiny Checks Brights; digital wood panel paper.

Dies:  Sue Wilson Merlot, Grape Vine Border, Triple Column Set

Other:  Copic Markers, adhesives, dimensionals,

Hope you enjoyed this post and thanks so much for stopping by. 
Until next time....make it a great crafting day!

Monday, February 3, 2020

Good Friends and Wine


Hello!  Hope you're having a great day.  Here in my neighborhood the sun is finally shining after several days of cloudiness.  There's something about sunshine that perks me up. And there's nothing like friends and wine to make a day even better. Hence the theme of this birthday card that I made for my best, oldest and dearest friend.

I began my cutting a piece of white card stock for my focal panel. (This card turned out to be large, 7x7 inches, due to the die cuts I used.) Next, I die cut two (2) wine rack images, overlapped the ends  and adhered them togther in order to fit the panel. The grape vine was cut and paper pieced and then adhered to the top of the wine rack 

For my next step, I die cut the wine basket image in kraft card stock and then cut the bottle out of the basket. The basket was sponged with ink along the edges.  I cut another wine basket image in white (without cutting out the bottle) and then colored just the bottle part with Copics and then adhered it to the back of the basket image.  In doing this it gave the wine basket some dimension. The completed wine basket was then adhered to the wine rack.

The wine glass was die cut, colored and shaded with Copics, and adhered to the wine rack. Finally,  the large grape bundle image and the sentiment were positioned and adhered to the card. The focal panel was then matted with purple card stock and then adhered to a white base card.

Here are the products used in making this card:

Card Stock:  GKD White, Green Apple, Kraft, Lovely Lavender, Warm Cocoa; SU Elegant Eggplant
Inks:  Distress Oxide Vintage Photo
Dies:   Sue Wilson Chianti, Grape Vine Border
Other:  Copic Markers, adhesive, dimensionals.


Next time you craft, invite some of your crafting friends,
 open up a bottle of wine and craft away!

Thanks for stopping by!


Friday, January 31, 2020

Pub Beer Birthday


The holidays are over and I was able to take a short break from making my Christmas cards.  But birthdays are coming one after the other and I get to indulge in my favorite pastime once again. The first birthday in this new year was that of one of my nephews. He had a birthday this month and this is the card I made for him. 

First, I prepared my base card in white card stock. Next, I layered it with gray wood panel digital paper from my stash. I put this aside to work on the images I planned to position on the card.

The pub sign was created in black mirror card stock. The hanging panel of the sign was snipped off and another one made using a die from Spellbinders Labels 22 and attached to the sign pole. The "PUB" and beer mugs were computer generated on white card stock and then cut with a smaller die from the Spellbinders Labels 22 die set. This was then layered on  the hanging panel. 

Next, the sentiment was die cut in black mirror paper, positioned and then adhered to the card. The beer pitcher and mug were die cut and colored with Copics. The beer foam was created using embossing paste.  The pitcher and mug were then positioned on the card and adhered with dimensionals. This completed my project. 

Here are the products used in the making of this card:

Card Stock:  GKD white, black mirror paper, digital grey panel paper
Dies:  Sue Wilson Three Cheers, Birthday Brewing, Spellbinders Labels 22
Other:  adhesives, dimensionals, embossing paste


Hope you enjoyed this post. Thank you for stopping by and please visit my blog again soon.
Have a happy crafting day!