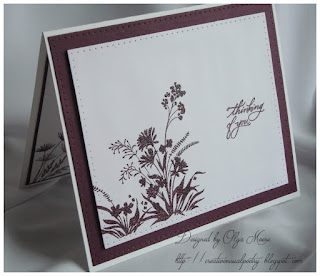
Front section of card
As the card is opened, the flap is exposed
The card as it stands upright exposing the flap section.
The card exposing the middle section containing the verse, the flap laying down.
Hello fellow crafters! Here's a card I made for a friend's birthday. I call it a 3 sectional card because it has 3 sections: the front of the card is one section, the middle is the second section and the flap is the third section.
The card is created by taking an 8 1/2 x 11-inch piece of card stock and scoring it at 5 1/2 inches. on the 11" side. Next, 1/8 " needs to be cut off at the 8 1/2" end. Then, the card stock is cut in half lengthwise at 4 1/4", ending up with 2 pieces of card stock, sized 4 1/4" by 5 3/8".
The front section with the window and the flap sections are decorated prior to assembling the card. The middle section, which will contain the verse, can be done after the card is assembled by creating the verse on a separate piece of card stock and then adhering it to the middle section.
After decorating the 2 sections, place both card bases down with the fronts facing you. Leave the first card with the front facing up and turn the second card so that the shorter side faces up. Next, open the second card and adhere its shorter side to the back of the first card, making sure that the tops of the card are aligned. After adhering, the card will have 3 panels with 2 folds. It's similar to a gatefold card except 2 pieces of card stock are used to create it. Here's a sample diagram of what the card would like when completely opened up:
I hope this helps explain how the card is assembled. Here are the products used to create this card:
Card Stock: GKD Pure Luxury White, Innocent Pink, Grass Green; PTI Blushing Bride
Stamps: SU Cake Soiree Stamp Set
Dies: SU Sweet Cakes Framelits, Crafter's Companion Simple Sentiments
Ink: GKD Innocent Pink, SU Mossy Meadow, Versafine Onyx Black
Other: adhesive, dimensionals
Thanks for stopping by! Please feel free to leave any comments.
Until next time, happy stamping!


